CloudEndure Migrationをやってみると記事を分けています。
教材
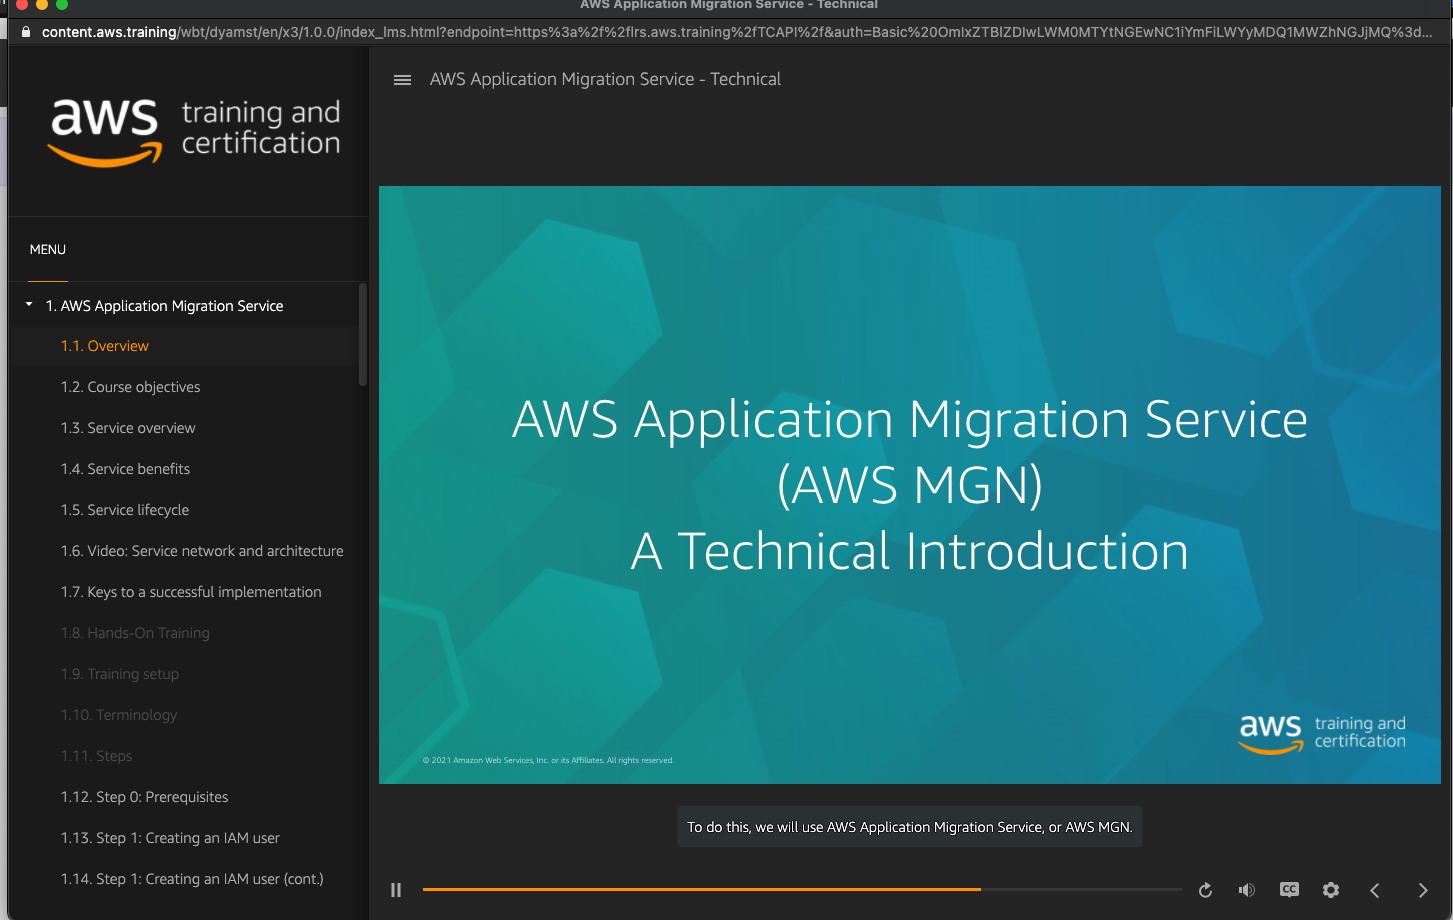
AWS Application Migration Service (AWS MGN) – A Technical Introduction
アクセスにはAWS Training/Certification アカウントの作成が必要です
現時点では選択可能な言語は英語のみです。自分もそうですが、聞き取りが不安な方は字幕を表示することも可能です。
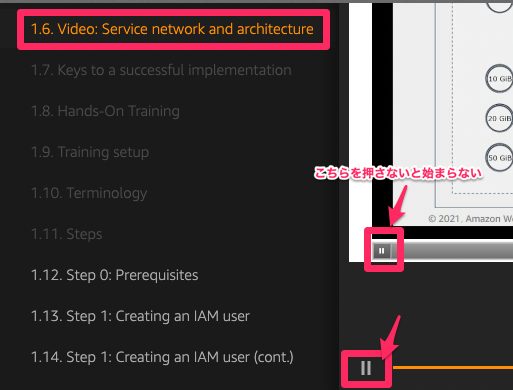
1.6 Video Service network and architecture は表示される画像内の再生ボタンを押す必要があります
AWS Application Migration Serviceとは
2021年5月時点で利用可能なリージョン
IAM
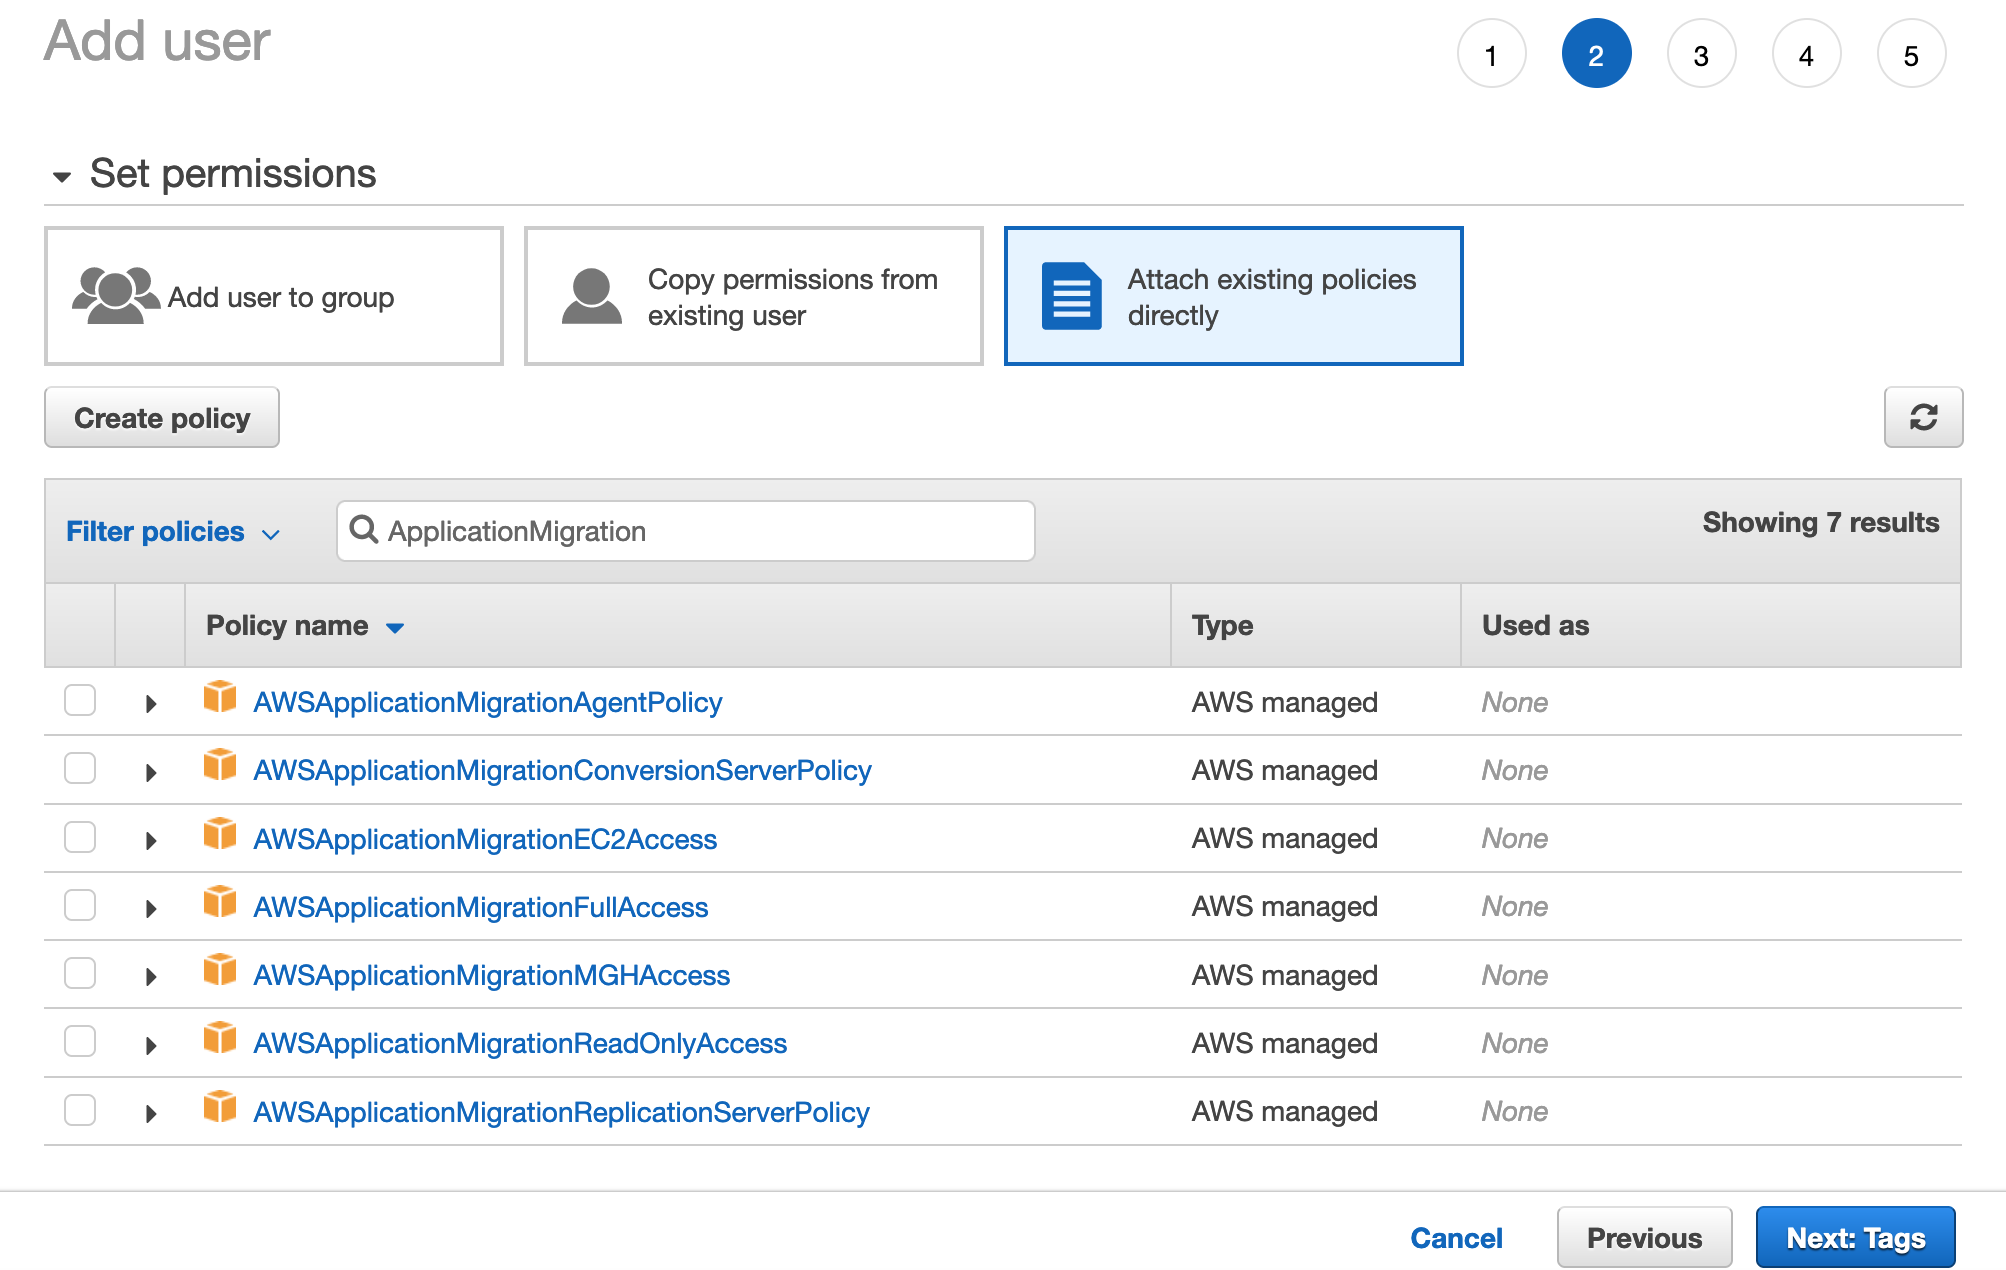
AWS managed policies for Application Migration Serviceにて紹介されています。
実際にこのように表示されていました。
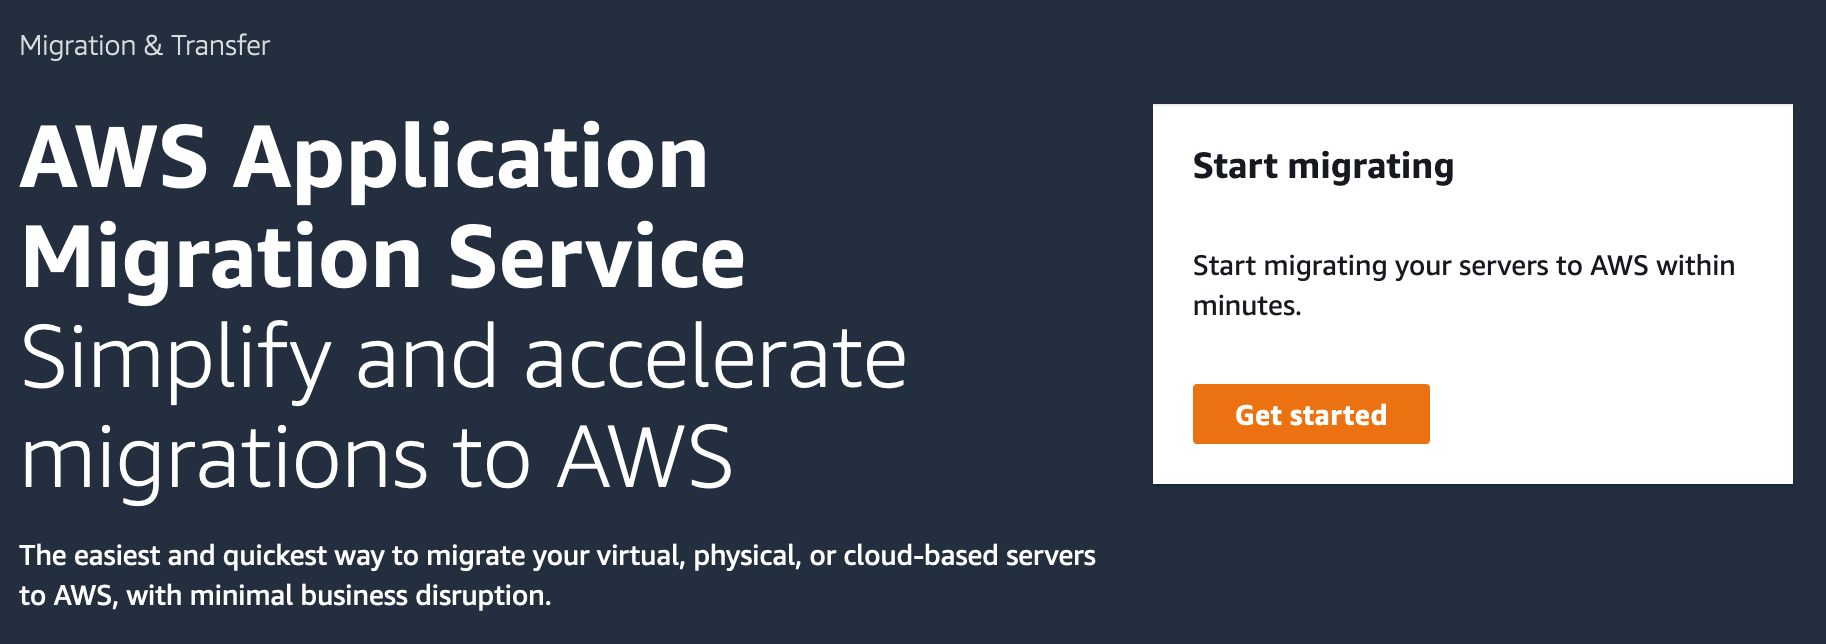
AWS MGN
気になる料金
AWS Application Migration Service の料金にある通り、CloudEndureと同じ
AWS MGN is free for the first 90 days (2,160 hours), for each server being migrated.
If you exceed the free period for any server, you will be billed $0.042 per hour for that server.
インストール可能な環境
詳細は公式ページにて記載されています
- 共通
- Disk : 2GB以上の空き容量
- RAM : 300MB以上
- Windows
- Microsoft Windows Server 2008 R2 64 bit (patched)
- Microsoft Windows Server 2012 64 bit
- Microsoft Windows Server 2012 R2 64 bit
- Microsoft Windows Server 2016 64 bit
- Microsoft Windows Server 2019 64 bit
- Linux
- SUSE Linux (SLES) 12 and higher
- Debian Linux 9 and higher
- Ubuntu 12.04 and higher
- Red Hat Enterprise Linux (RHEL) 6.0 and higher
- Oracle Linux 6.0 and higher
- CentOS 6.0 and higher
実際にさわってみる
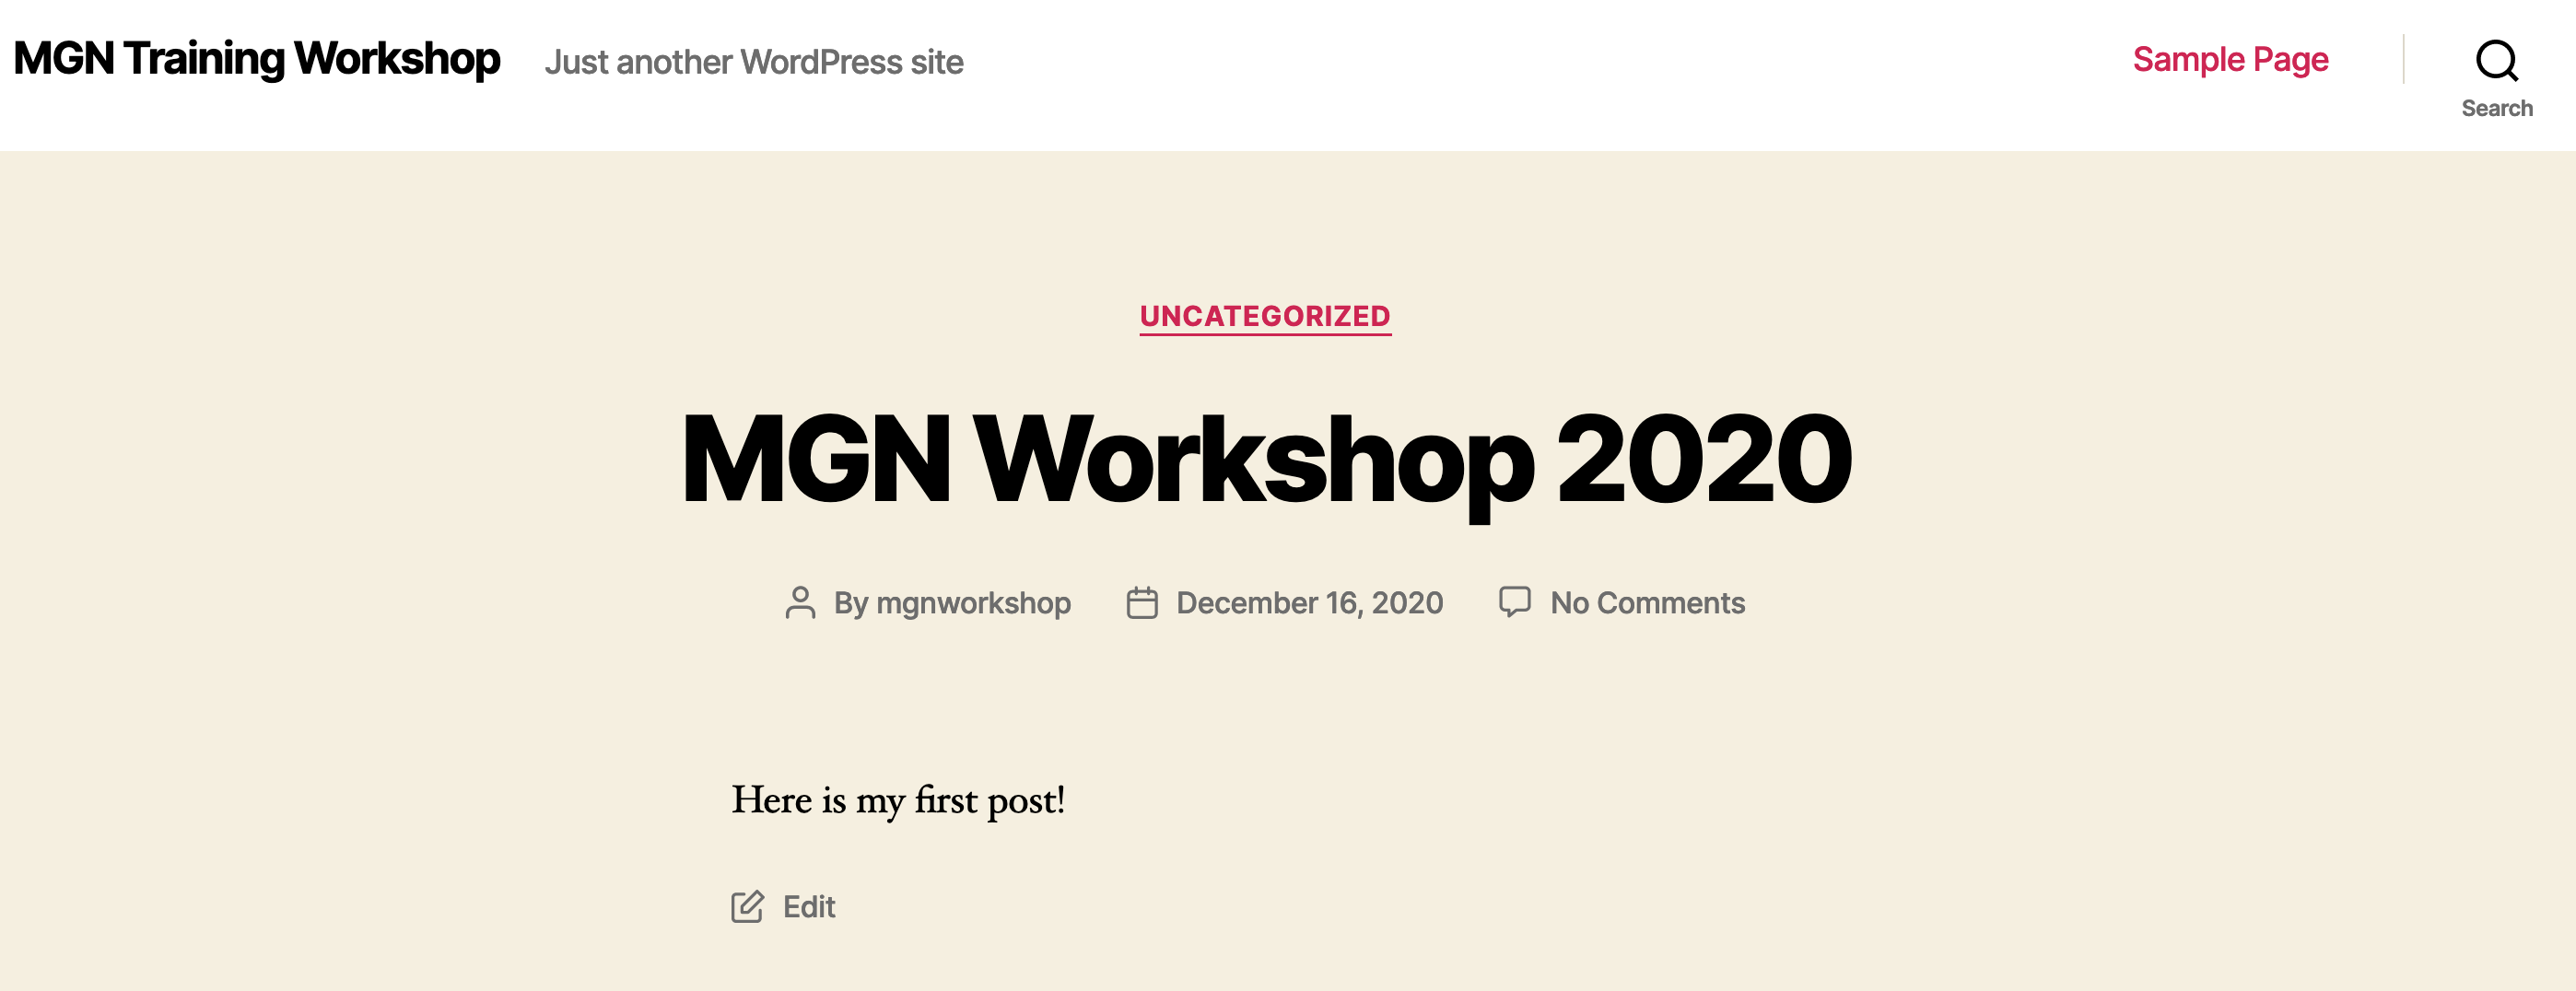
Workpressサイトのベースイメージを移行する形です
作業は手順に沿ってN.Virginiaで実施しています
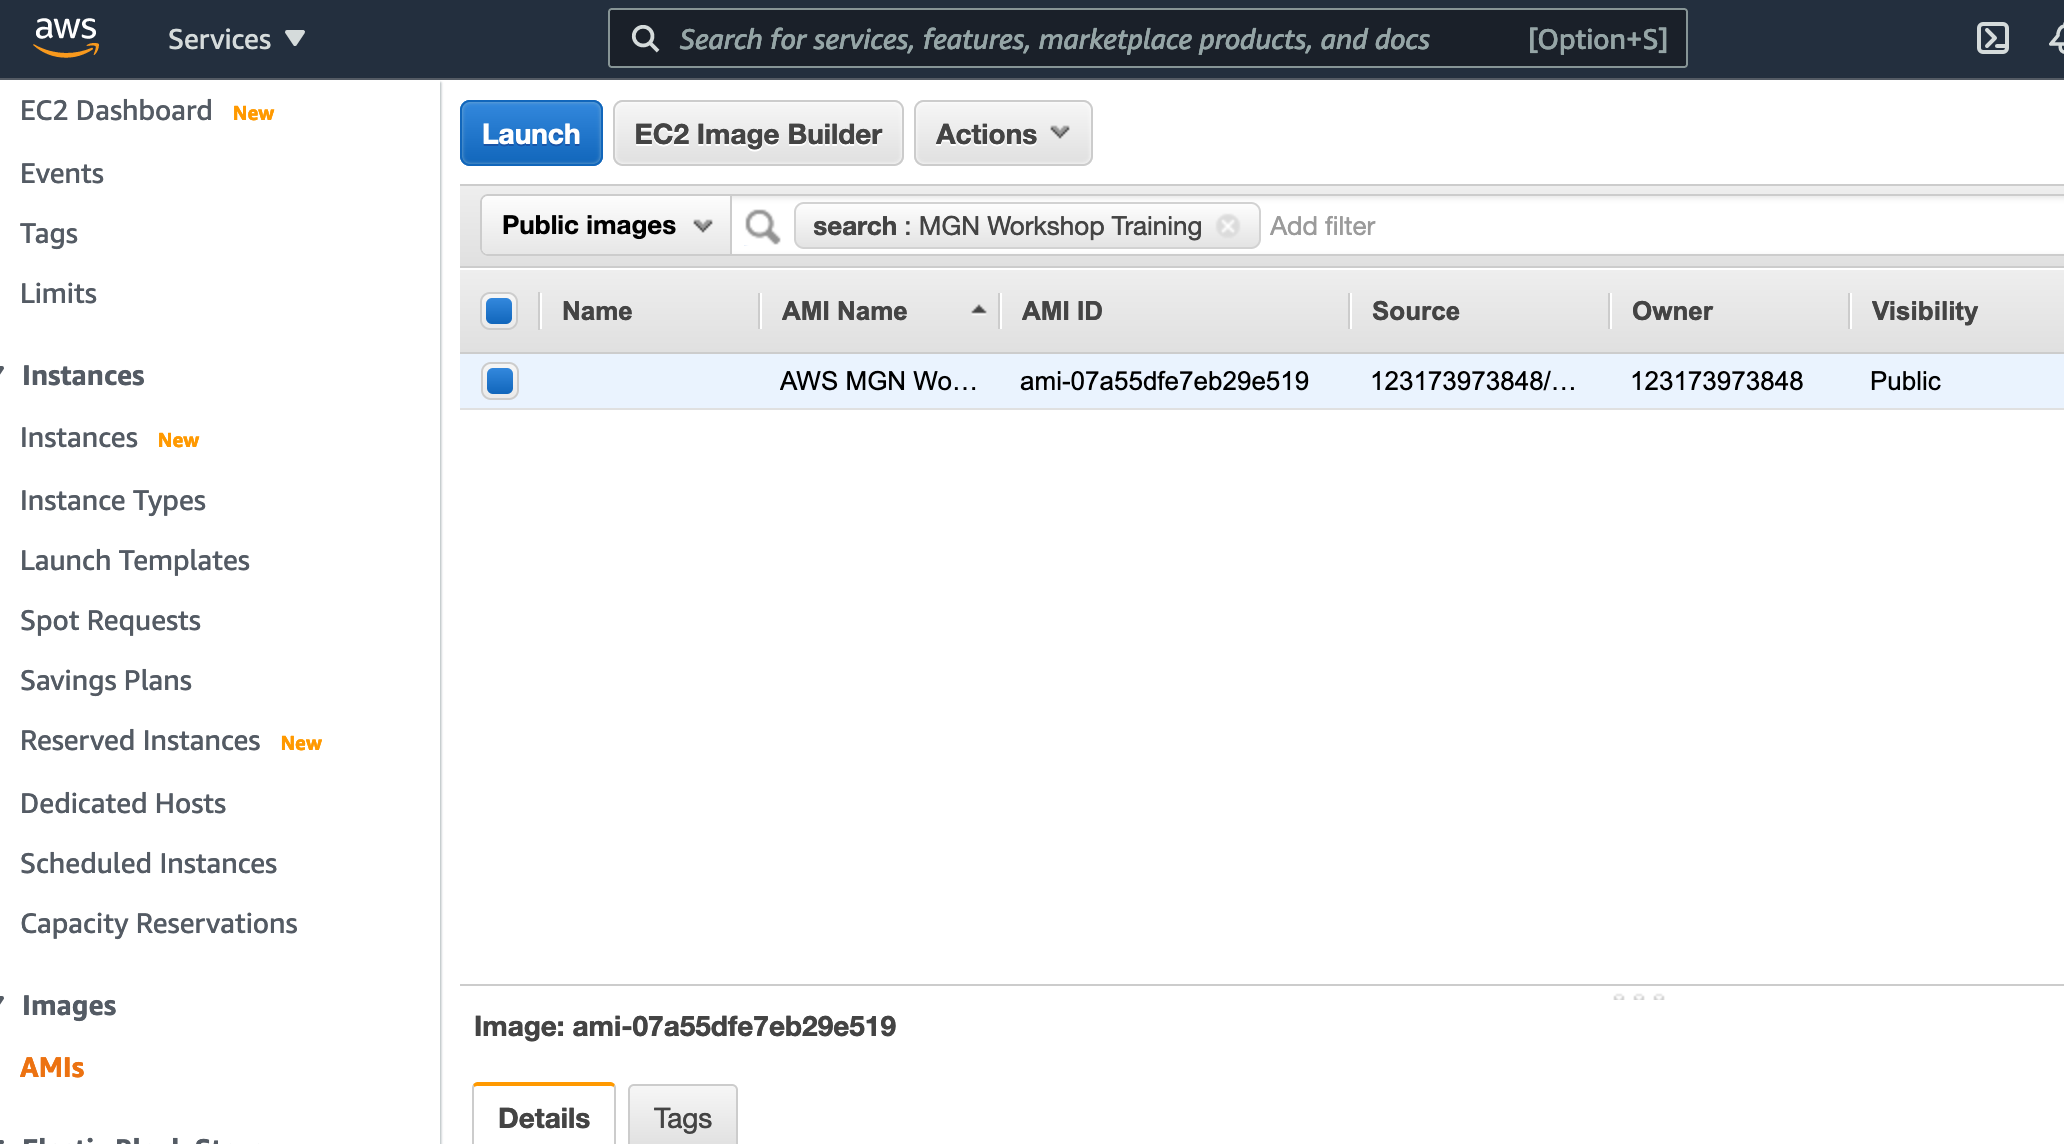
AMI
Public Imagesで、MGN Workshop Trainingを検索
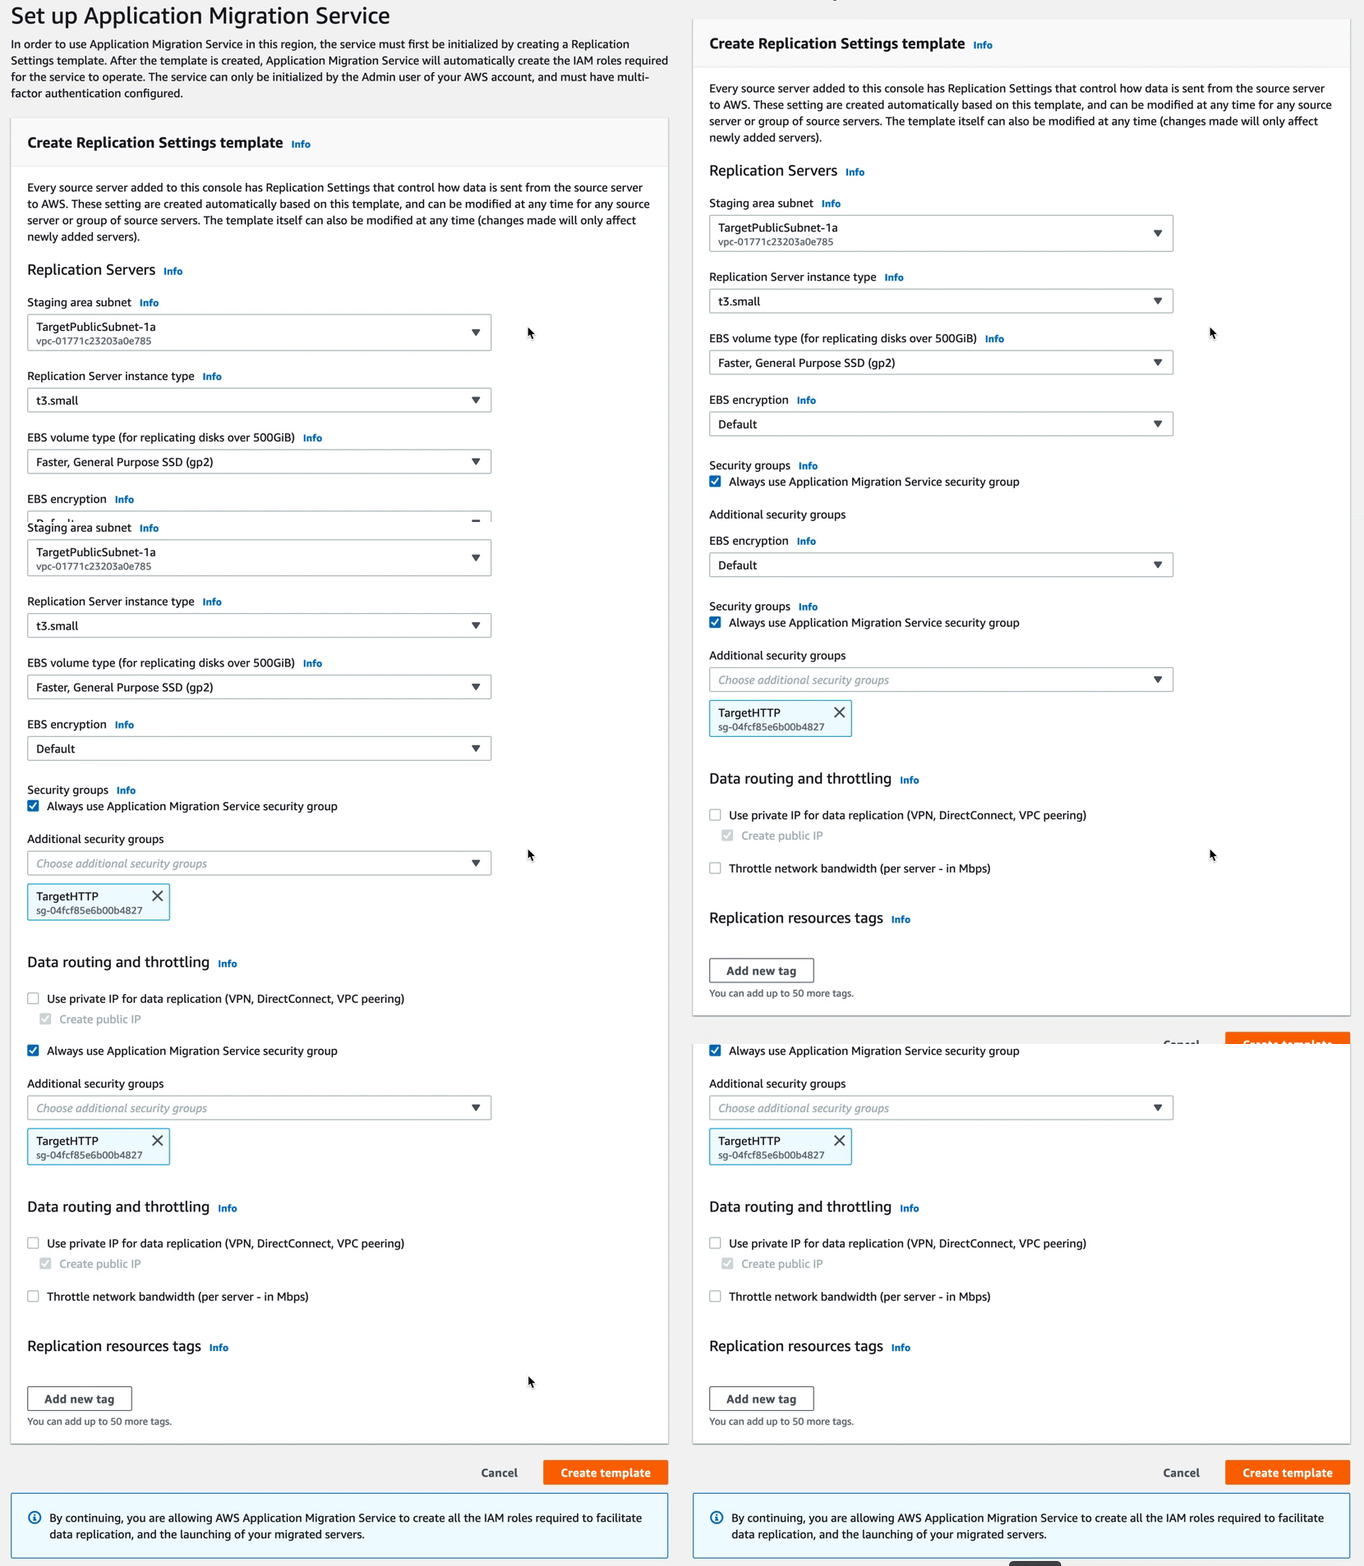
Replication Settings
上記の設定完了後、Create Templateを押す
Agent Install
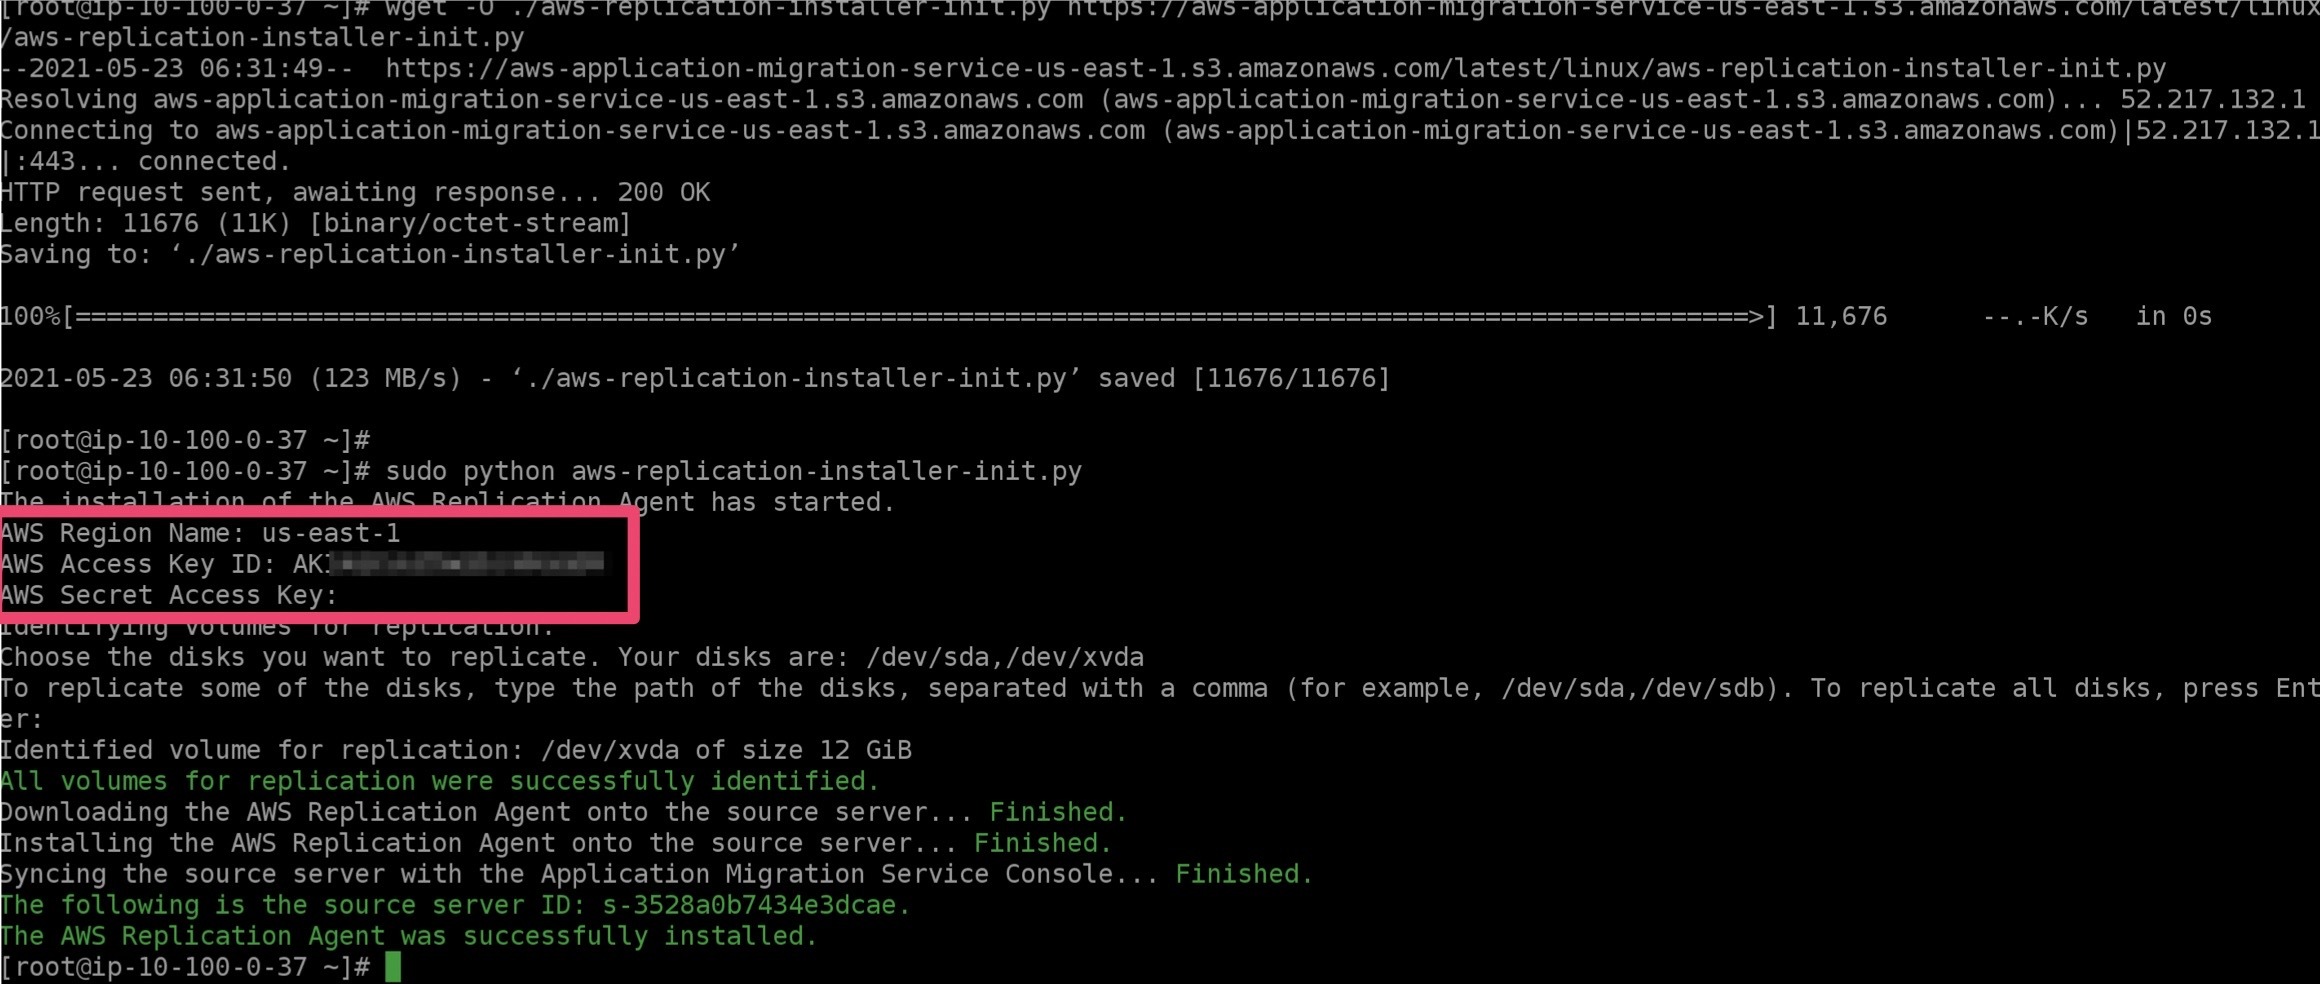
以下のコマンドを使ってエージェントをインストールします。
途中で入力が求められるIAM アクセスキー、シークレットアクセスキーは前段で紹介しているIAMユーザのものを利用します。
wget -O ./aws-replication-installer-init.py <https://aws-application-migration-service-us-east-1.s3.amazonaws.com/latest/linux/aws-replication-installer-init.py>
sudo python aws-replication-installer-init.py
{{< message_box color="warning" >}}
https://aws-application-migration-service-<region>.s3.amazonaws.com/latest/linux/aws-replication-installer-init.py の <region> は作業を行うリージョンに書き換えてください。^1
{{< /message_box >}}
{{< message_box color="warning" >}}
Windowsの場合は、 https://aws-application-migration-service-<region>.s3.amazonaws.com/latest/windows/AwsReplicationWindowsInstaller.exe
の <region> は作業を行うリージョンに書き換えてください。^2
{{< /message_box >}}
-
The AWS Replication Agent was successfully installed.が出たら準備完了です
インストールが上手く行かない場合は、Docsを見るか、
AWSサポートに問い合わせてみてください。
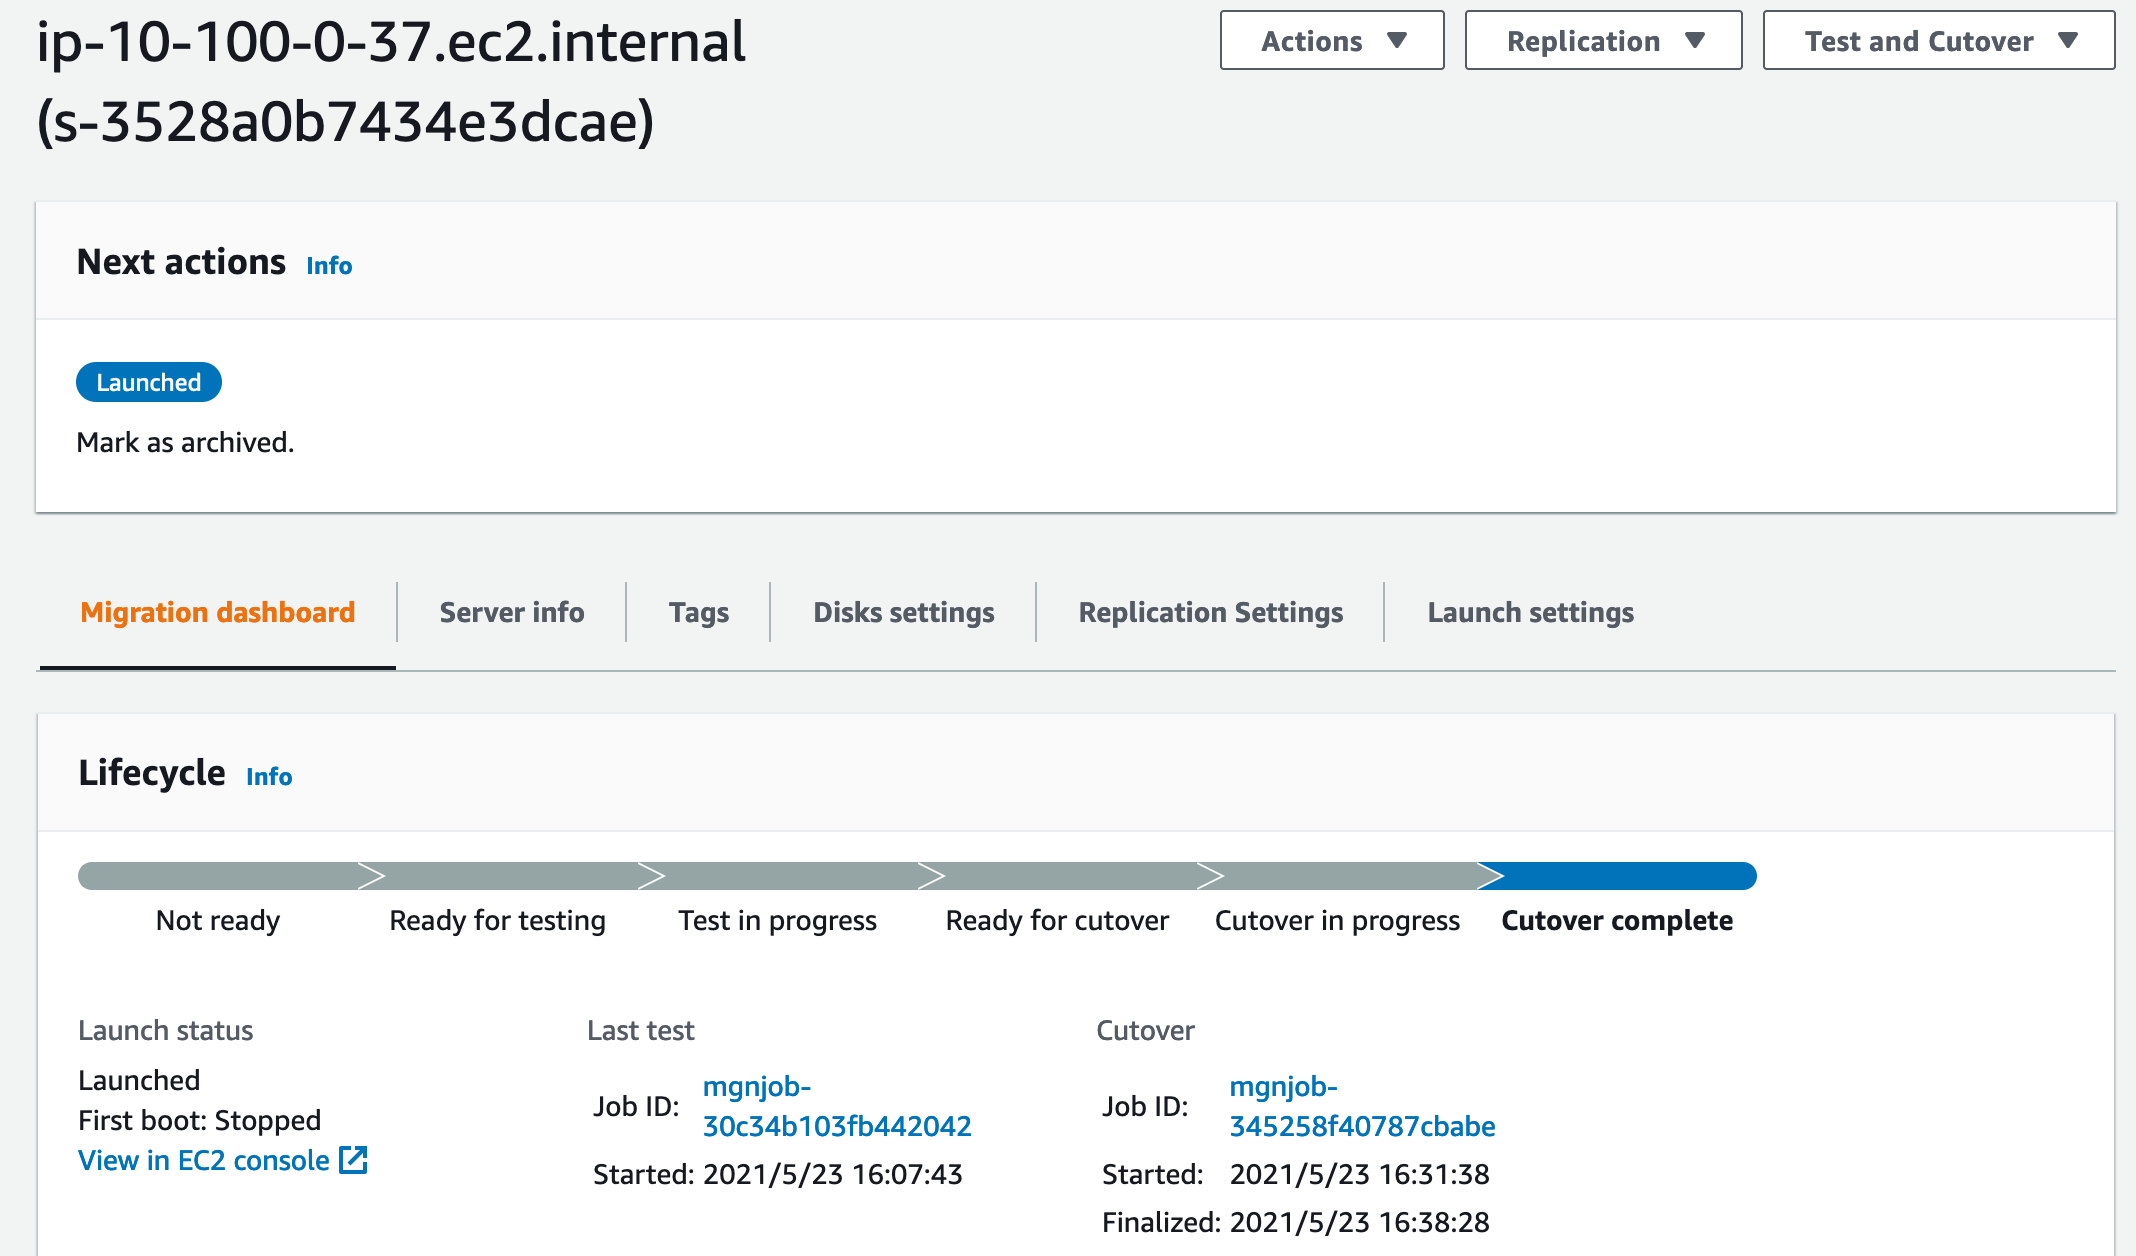
AWS MGNのlifecycleは現時点では以下で定義されています。
-
Not ready: 同期処理の初期化中。 -
Ready for testing: AWS MGNに登録完了。Test / Cutover可能 -
Test in progress: Testモードで実行中。 -
Ready for cutover: Testモードが完了。Cutover待ち。 -
Cutover in progress: Cutoverモードで実行中。 -
Cutover complete: Cutover完了。
Test / Cutover
20分前後で準備完了しました
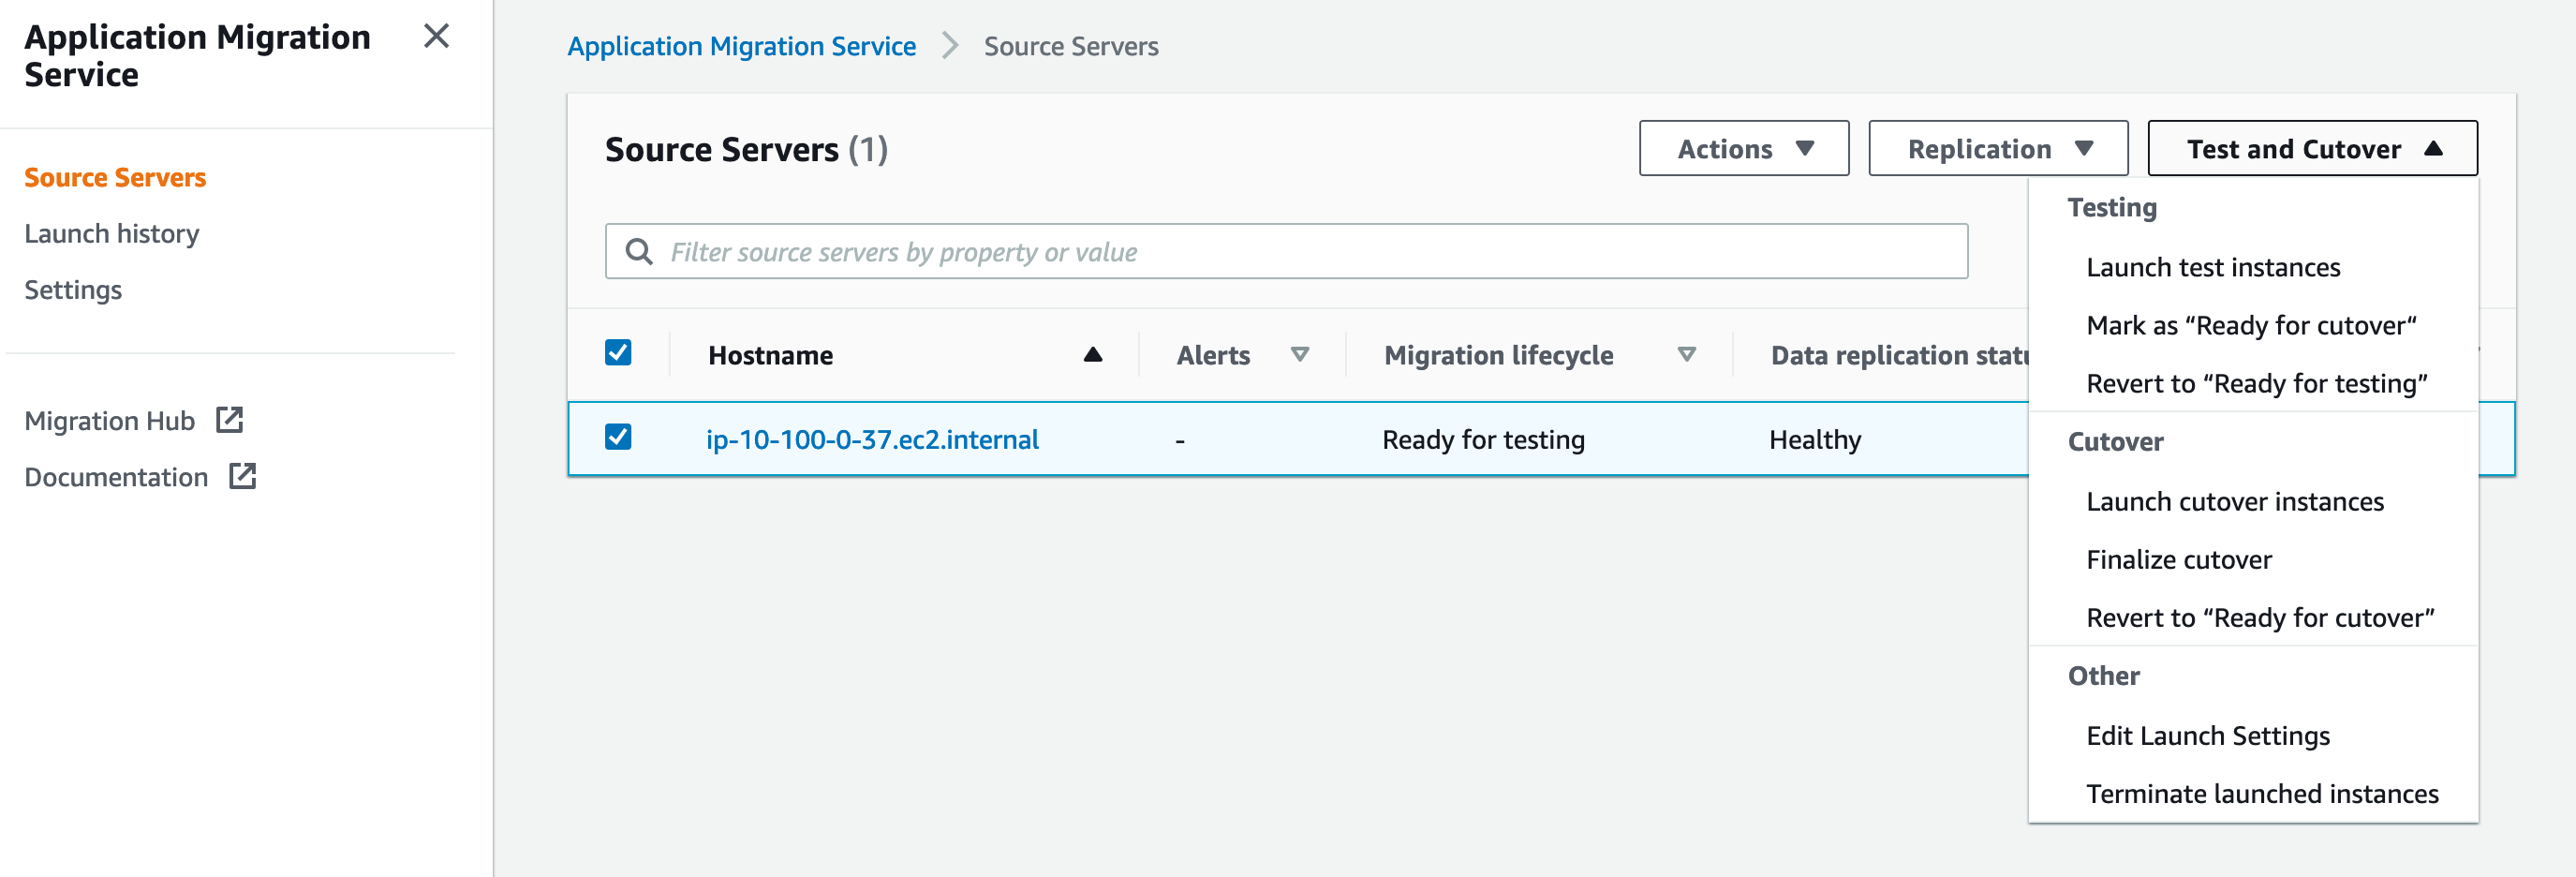
Test and Cutoverからメニューが選べるようになります
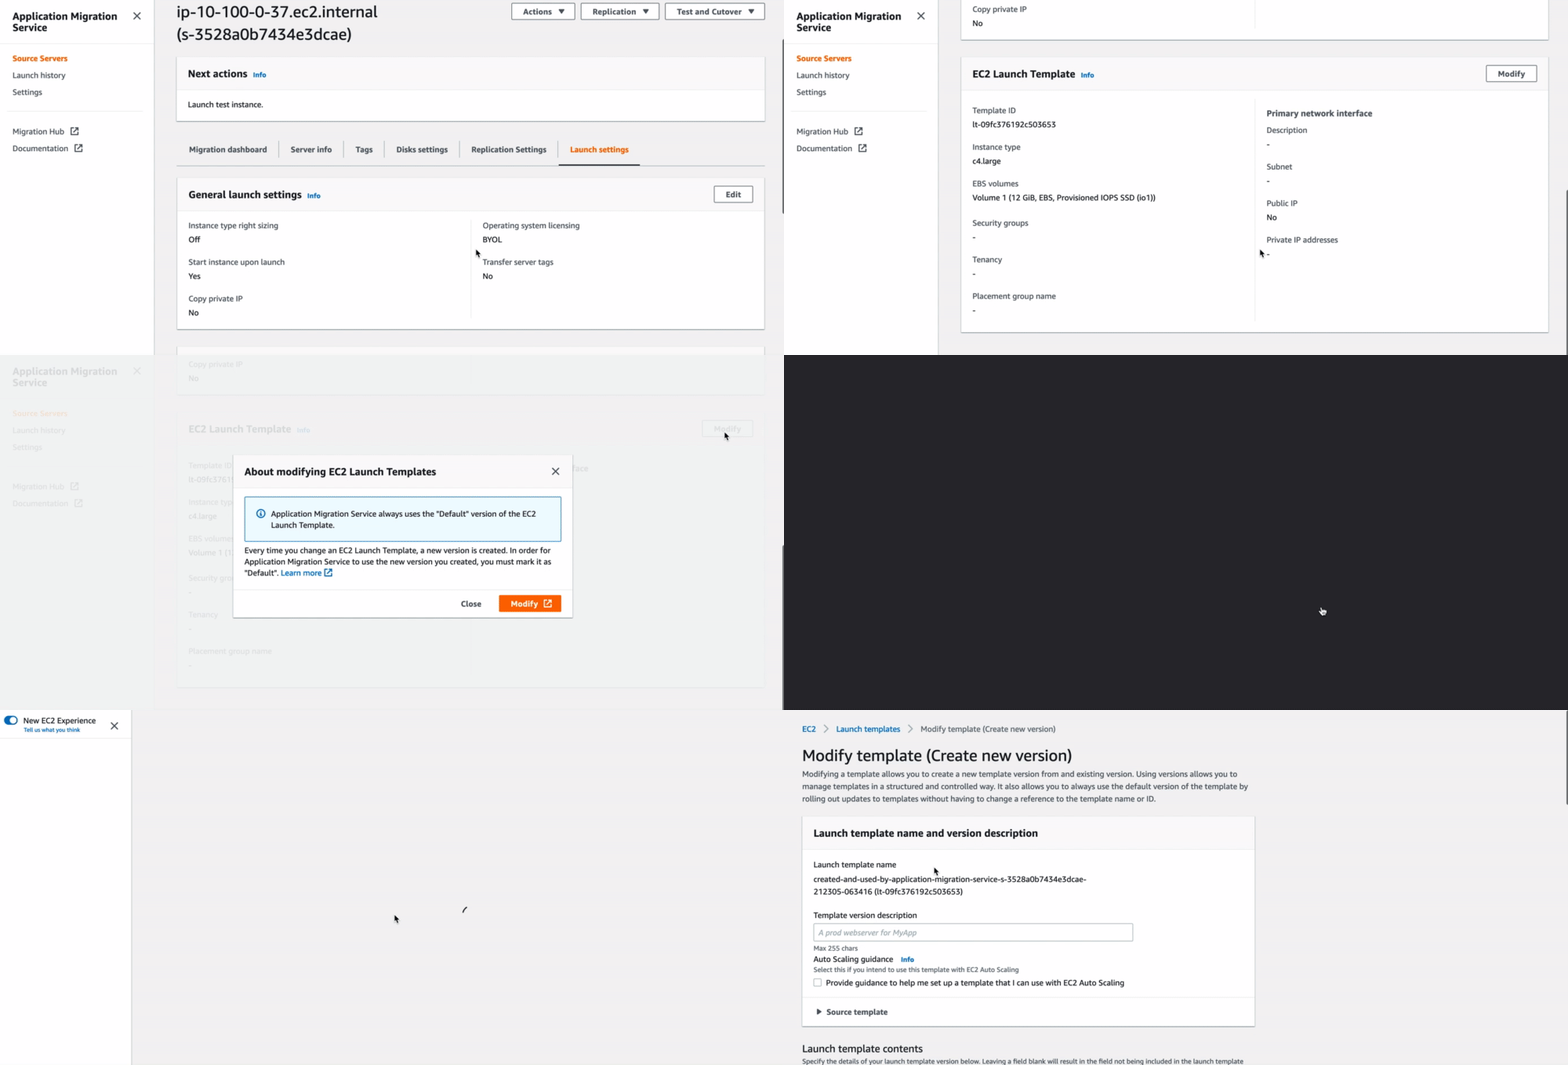
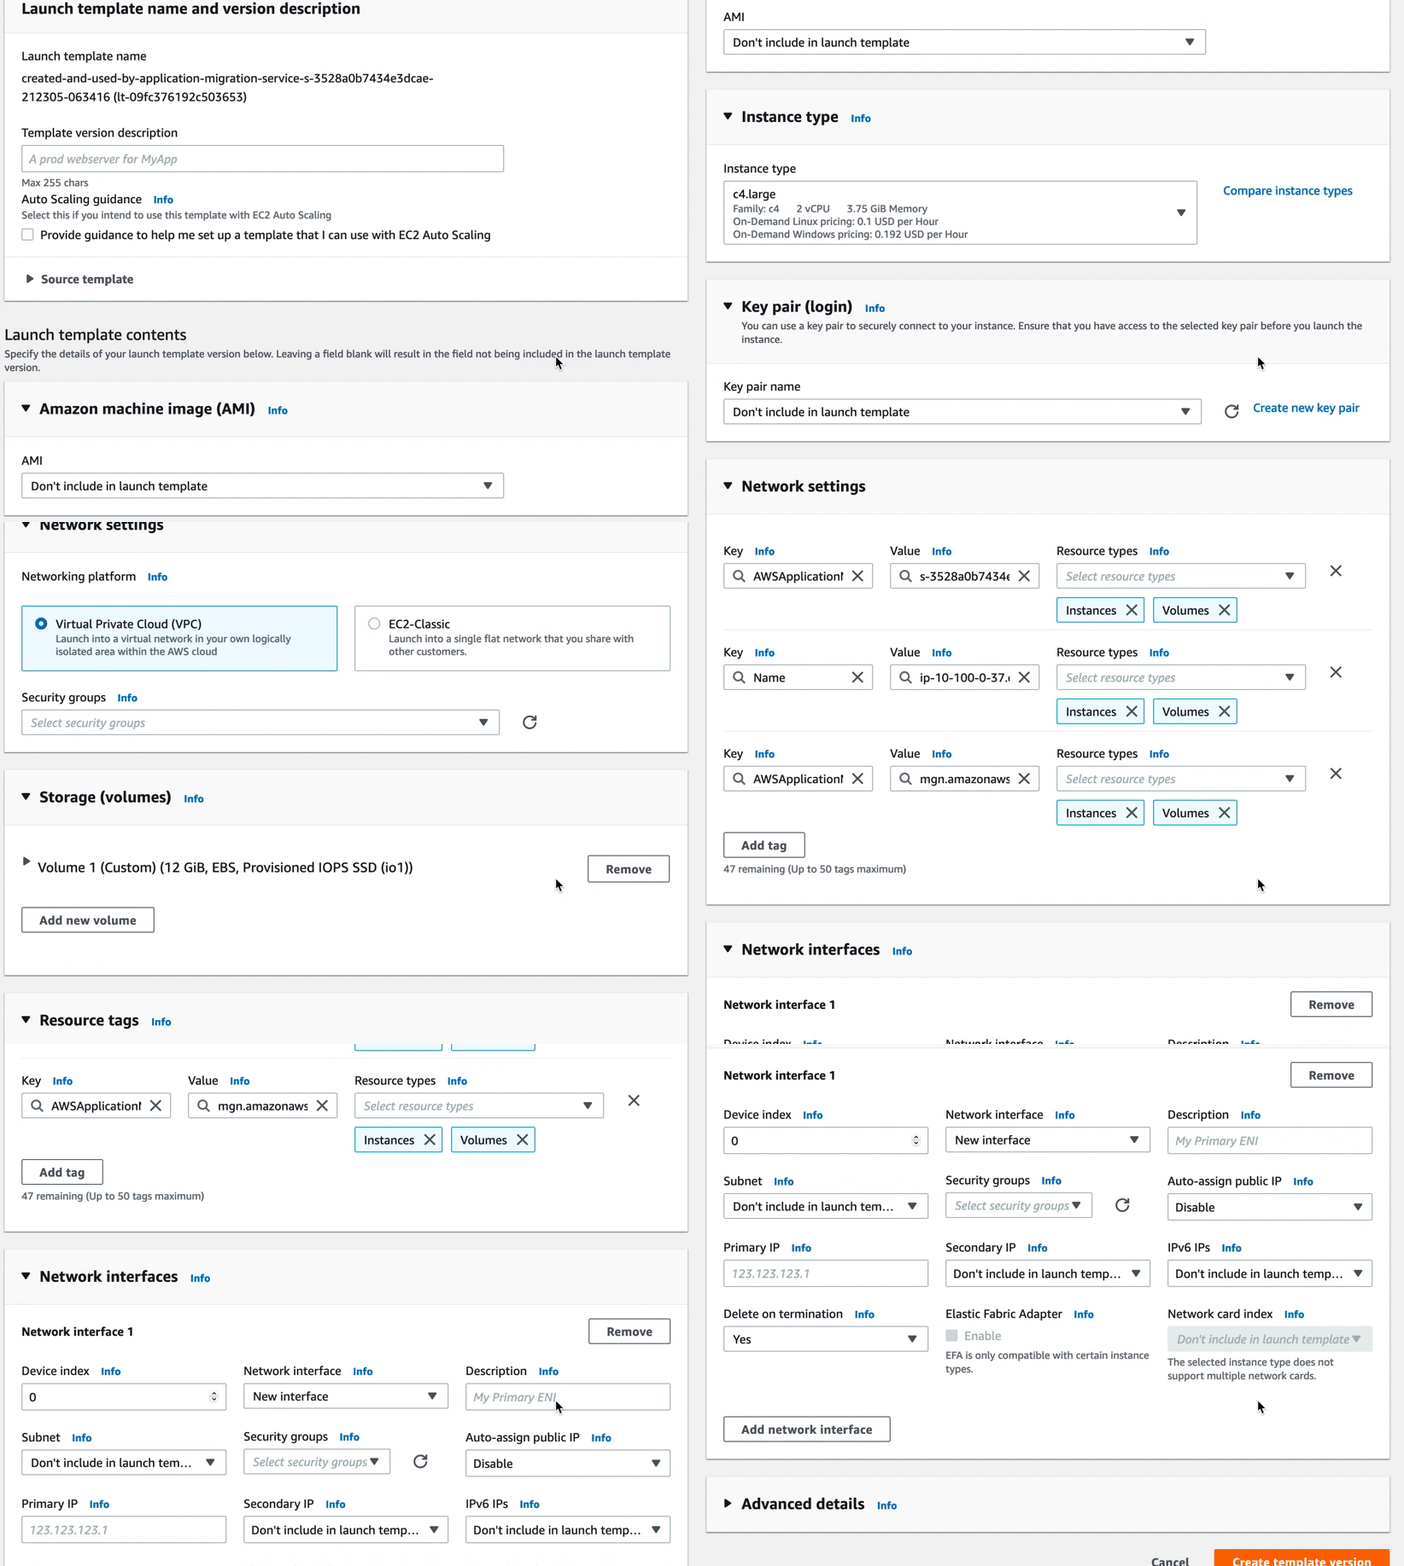
既存のイメージを元にEC2 Launch Templateの作成が可能となります
設定項目もタグなどを始め予め設定されます
Testモードを実施
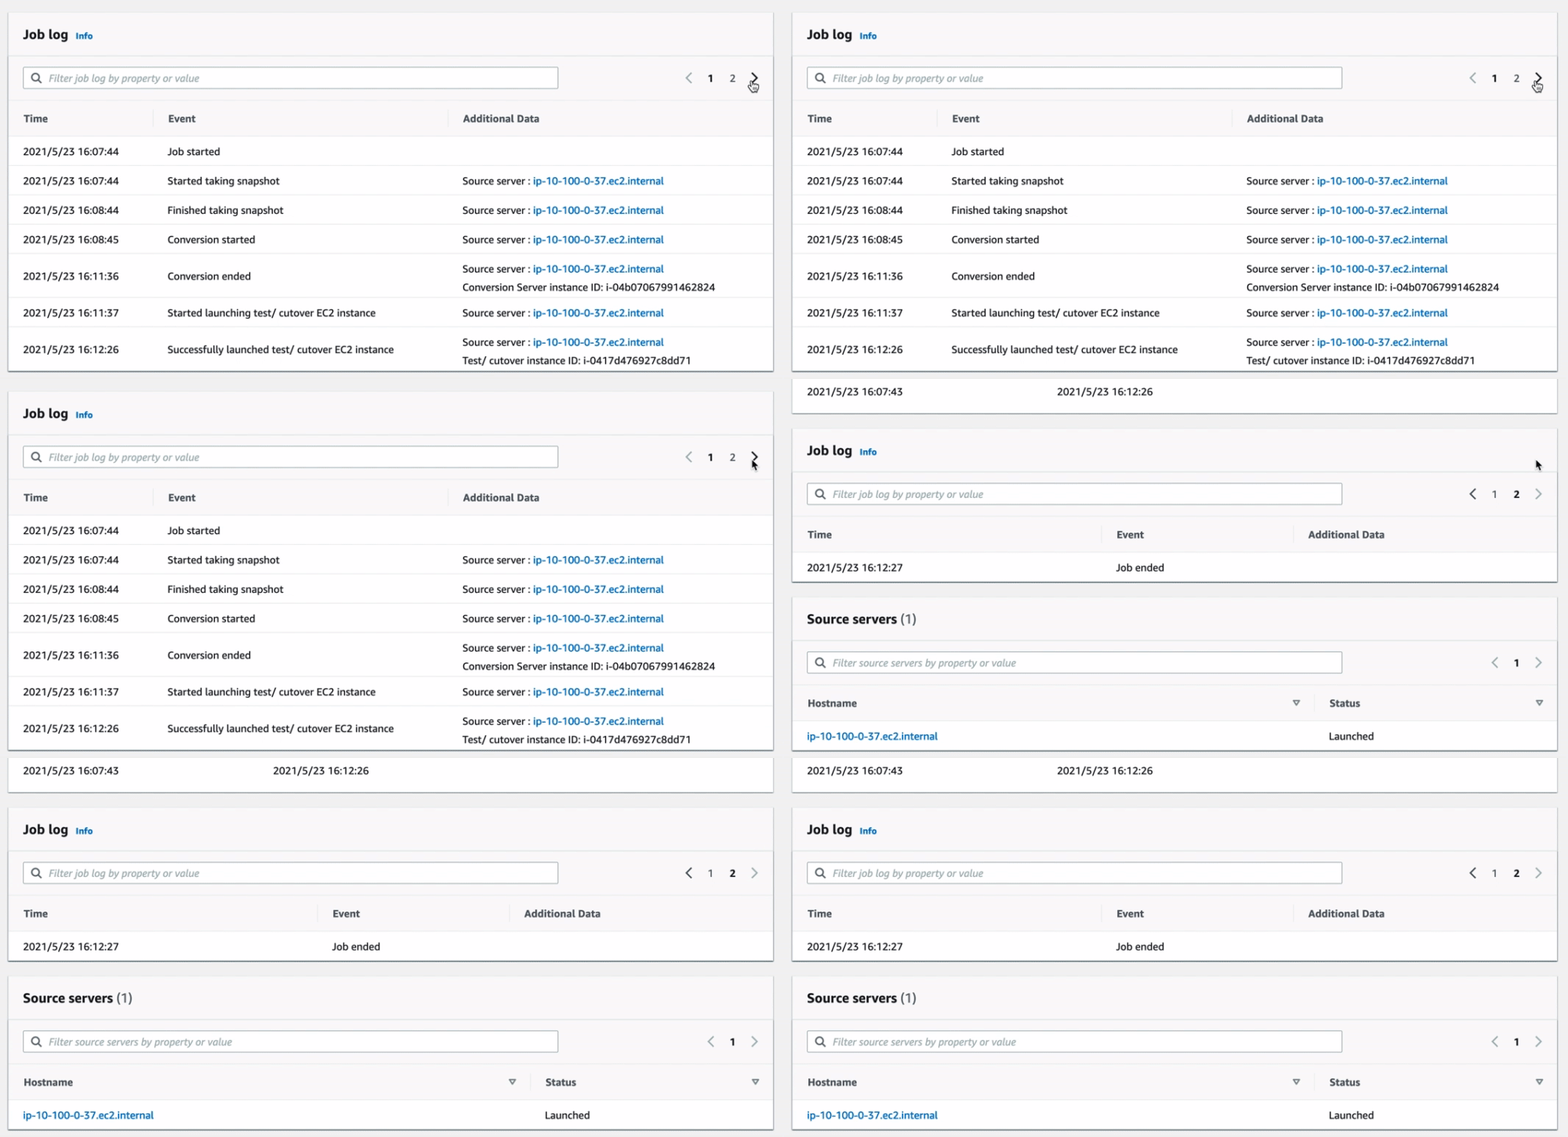
Job logが行数の関係で気づきづらいですが、Job Endedまで進めば完了です。
Source ServerのTest in progressとなり、
「Next step」がComplete testing and mark as 'Ready for cutover'.となります。
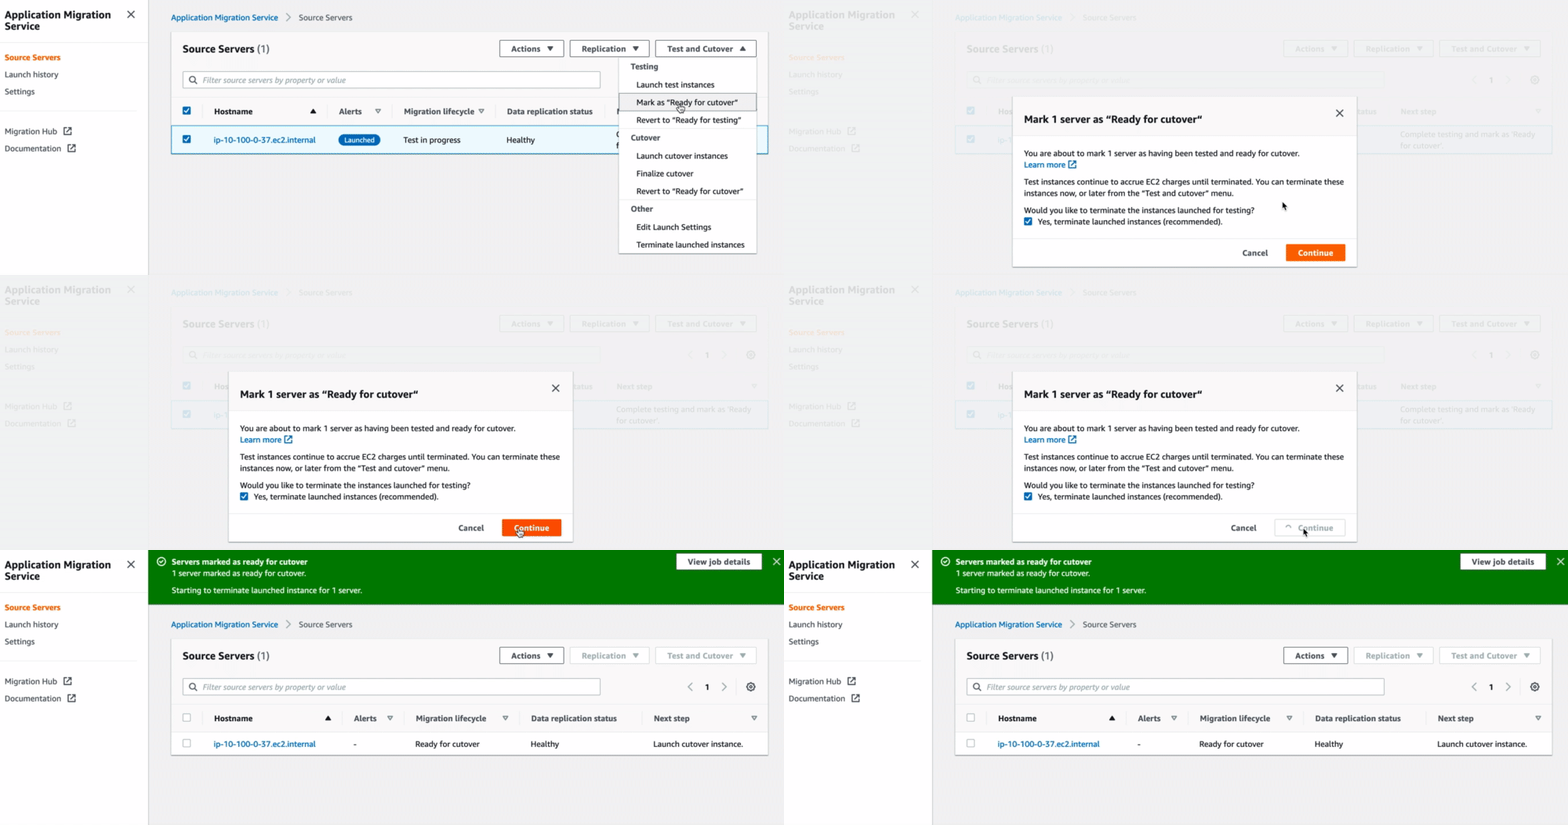
Mark as "Ready for cutover"とすると、Test InstanceのTerminateも選択可能です
Cutover実施後
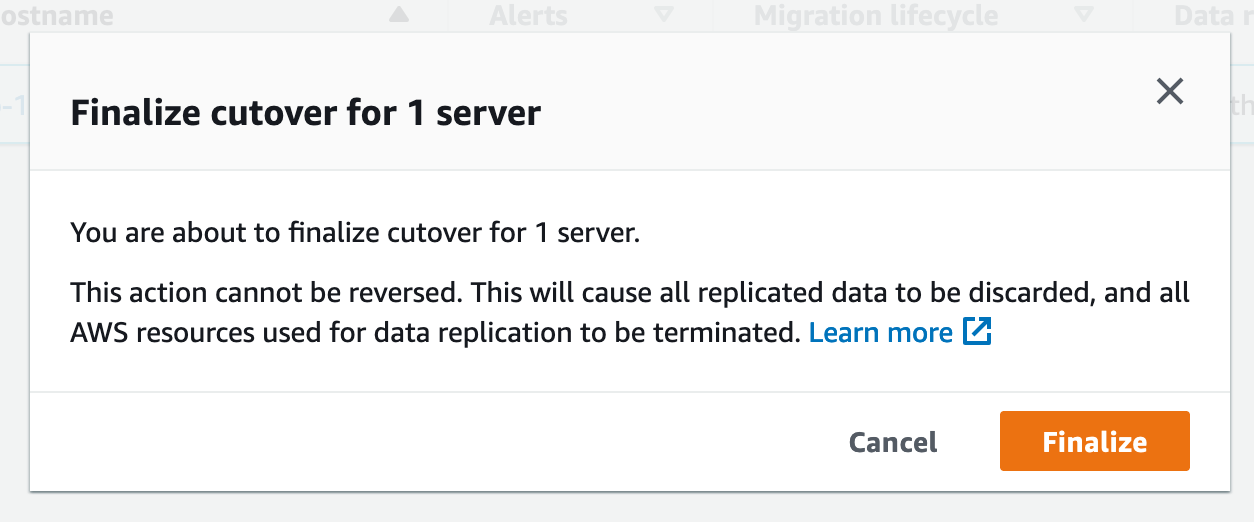
Finalize cutoverすることで移行完了扱いとなります
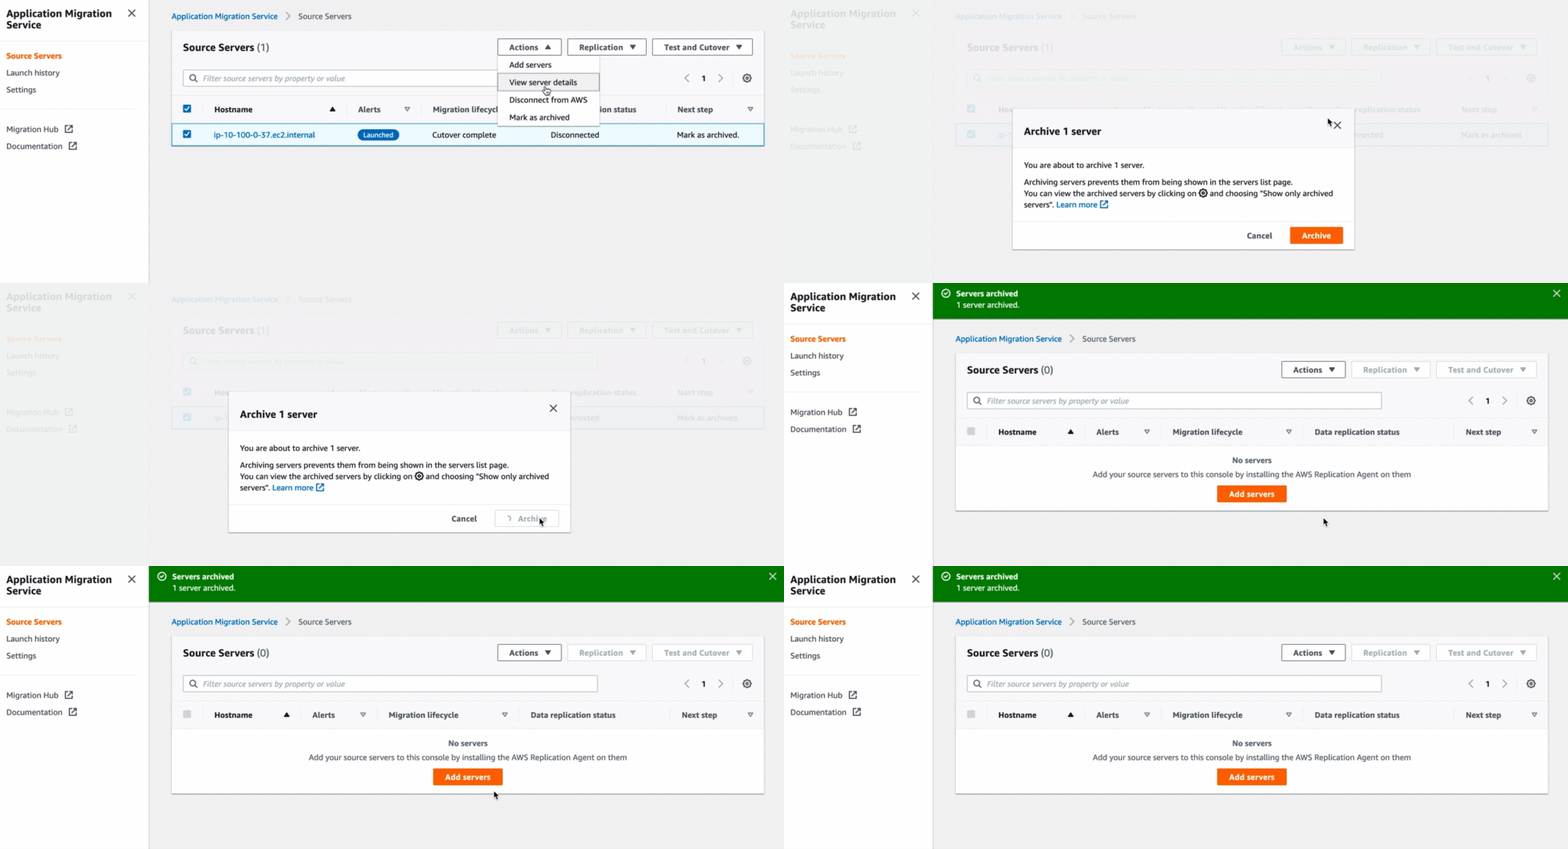
あとは、アーカイブするだけになります。
Mark as archivedとするオペレーションだけ、Test / Cutoverのメニューとは別なので注意です
一通り完了すると、移行元(疑似オンプレ)・移行先と、移行で利用したサーバの3台が起動中となります。
(Conversionサーバがアーカイブ処理で自動停止してくれるとうれしかったり...)
まとめ
冒頭触れたとおり、直前にCloudEndureの操作も行っていたので、
CloudEndureのエンジンを使っての移行作業については問題なく進められます。
比較して個人的に良かった点は以下です。
- IAMが使える
これにつきます。
CloudEndureのログインはMFAなど設定できなかったので、
AWS マネジメントコンソールにログインできるユーザの管理に集中できます。 - コンソールを言ったり来たりしなくて良い
CloudEndureのコンソールで進捗状況を確認するために見に行ったり、
AWSのマネジメントコンソールでEC2インスタンスの状態を確認したりする必要がないです。
